Homemade Teriyaki Sauce: Step-by-Step Instructions
On this page
Pro Tips for Better Results
For the best flavor, always use fresh ginger rather than powdered or jarred. Fresh ginger has a volatile oil content that provides a bright, spicy note that dissipates if cooked too long, so add it with the garlic near the beginning but not before. If your sauce turns out too thin after cooling, remember that starch-thickened sauces continue to set as they cool. If it is still too runny, you can microwave it for 30 seconds and stir in another teaspoon of cornstarch slurry. Avoid adding sesame seeds or sesame oil until the sauce has cooled slightly; adding them while the sauce is at a rolling boil can cause the oil to separate and the seeds to burn. Finally, taste your sauce before bottling. If it feels flat, a drop of high-quality fish sauce can enhance the umami depth without making it taste like fish.Instructions
- Combine soy sauce, mirin, sake, brown sugar, grated ginger, and minced garlic in a small saucepan over medium heat. Stir frequently to dissolve the sugar completely and prevent the garlic from sticking to the bottom and burning.
- Bring the mixture to a gentle simmer, allowing the alcohol to cook off and the flavors to meld together for about three minutes. This step concentrates the flavor profile and removes the sharp raw edge of the garlic and ginger.
- In a small bowl, whisk the cornstarch and water together to create a smooth slurry, ensuring there are no lumps before adding it to the hot liquid. Lumps in the slurry will result in a grainy, uneven sauce texture.
- Pour the cornstarch slurry into the simmering sauce while stirring constantly with a wooden spoon or silicone spatula. Continuous stirring helps the starch gelatinize evenly and prevents clumps from forming in the hot liquid.
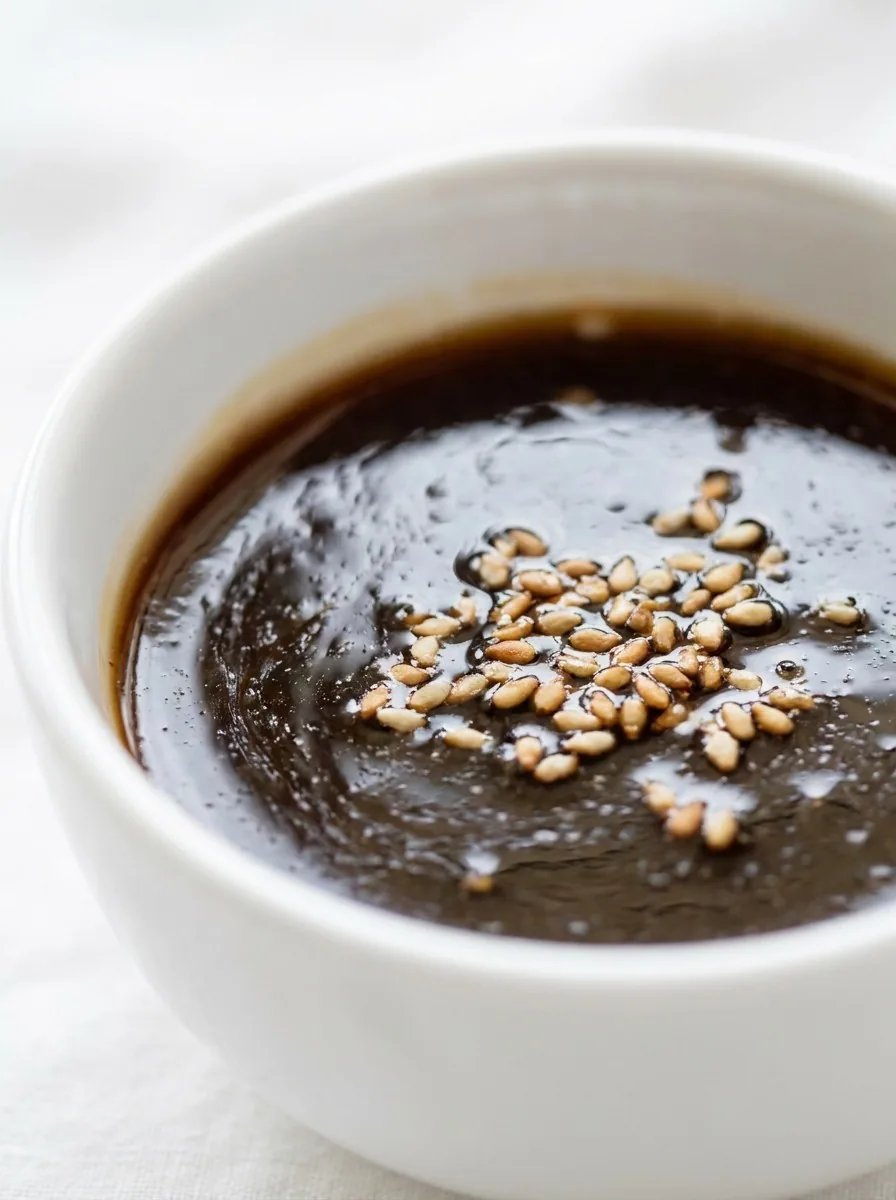
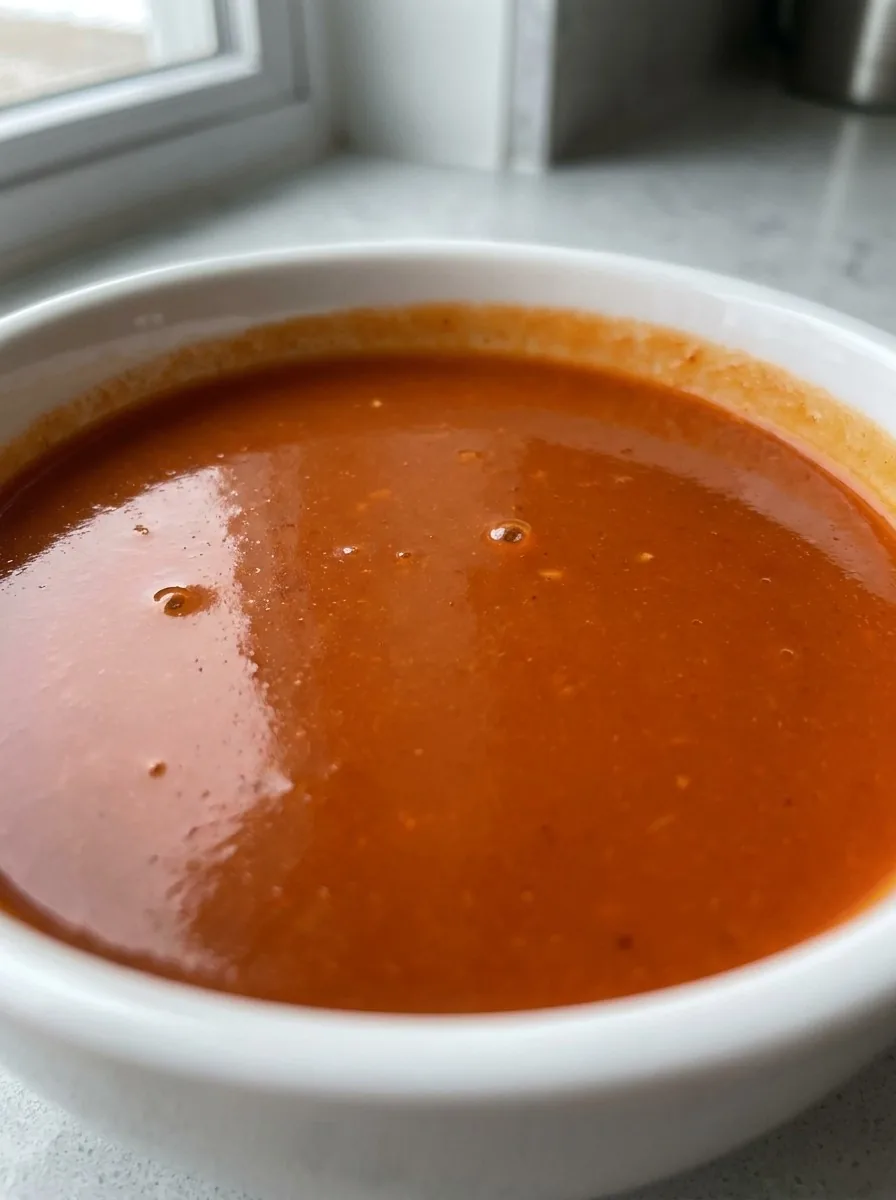
- Increase the heat slightly and continue to stir until the sauce thickens and becomes glossy, which usually takes two to three minutes. The visual change from translucent to opaque and shiny indicates the starch has fully activated.
- Remove the saucepan from the heat and taste the sauce for balance, adding a splash of water if it is too thick or a pinch more sugar if it needs more sweetness. Adjusting at this stage ensures the final flavor profile meets your preference before bottling.
- If using sesame oil, stir it in now while the sauce is still warm to help it integrate smoothly without separating. Adding oil at the end preserves its nutty aroma rather than letting it dissipate during long simmering.
- Pour the finished sauce into a clean, airtight glass jar, pressing a piece of plastic wrap directly against the surface to minimize air exposure. This barrier helps prevent a skin from forming on top and keeps the sauce glossy.
- Allow the sauce to cool to room temperature before sealing the jar and transferring it to the refrigerator. Cooling it down before closing the lid prevents condensation from forming inside the jar, which can dilute the sauce later.
Recipe Variations
You can easily customize this base recipe to suit different proteins and dietary preferences. For a spicier version, increase the crushed red pepper flakes to a full teaspoon or add a chopped fresh jalapeno along with the garlic. If you are making a vegan version, replace the sake with a splash of apple cider vinegar and extra mirin to maintain the alcohol content and acidity balance. For a smoky flavor, add a teaspoon of liquid smoke or a pinch of smoked paprika to the sauce before simmering. Another popular variation is the "black garlic" version, where you blend a couple of cloves of fermented black garlic into the sauce for a rich, balsamic-like depth. You can also add a tablespoon of honey instead of brown sugar for a lighter, floral sweetness that pairs well with white fish.Serving Ideas
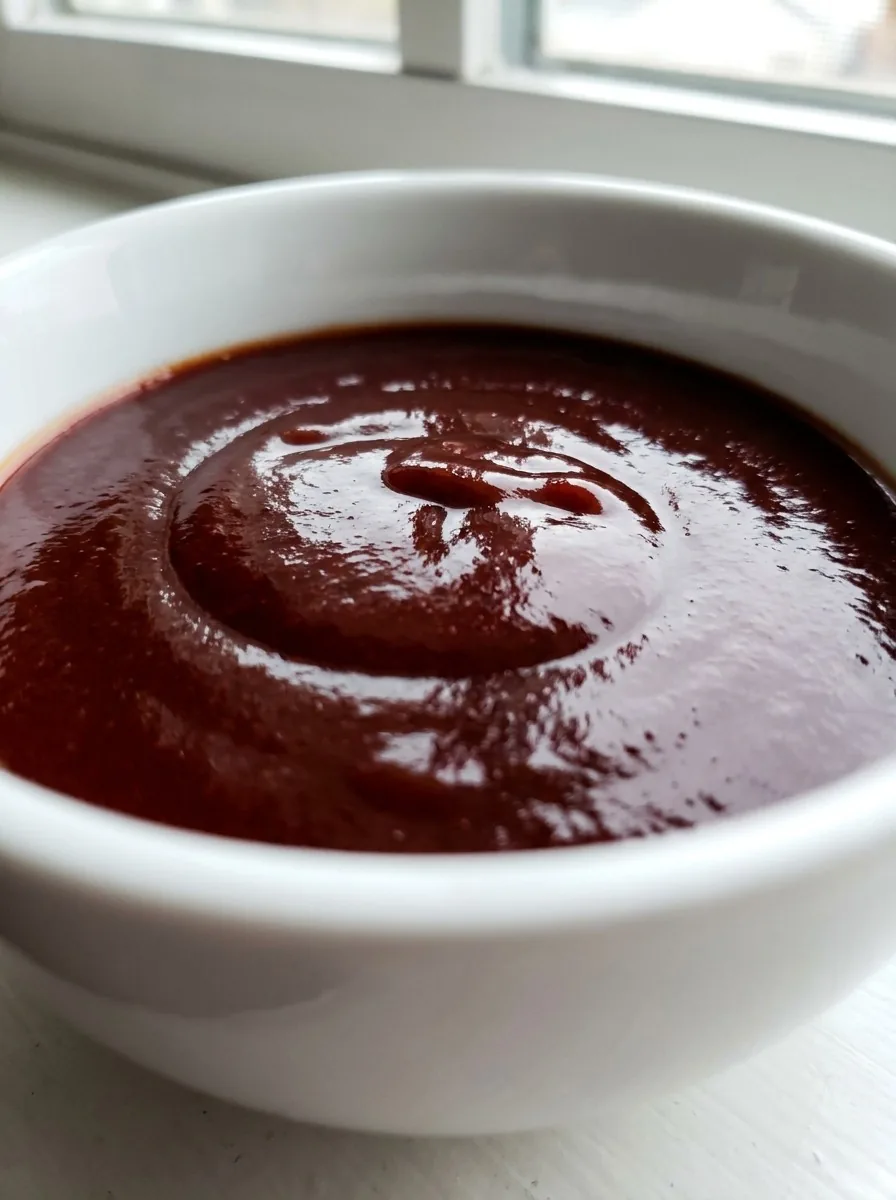
Teriyaki sauce is incredibly versatile and works with a wide range of dishes. The classic pairing is with grilled chicken thighs, which develop a beautiful char and caramelized crust when basted with the sauce during the last five minutes of cooking. It also shines over stir-fried vegetables like broccoli, snap peas, and carrots, providing a savory glaze that enhances their natural sweetness. For a quick lunch, spoon the sauce over steamed rice and top with a fried egg and sliced scallions. It is also excellent as a dipping sauce for spring rolls or as a glaze for tofu steaks. If you are hosting a dinner party, serve it alongside mashed potatoes or roasted root vegetables to introduce a Japanese-inspired twist to a Western menu.If you like making sauces from scratch, try our sticky honey garlic sauce, homemade BBQ sauce, red enchilada sauce next.
Keeping It Fresh
Proper storage is key to maintaining the quality and safety of your homemade sauce. Always transfer the sauce to an airtight glass container rather than leaving it in the saucepan. Glass is preferable to plastic because it does not absorb strong odors or flavors, which is important if you plan to reuse the container for other sauces. Press a piece of plastic wrap directly onto the surface of the sauce before placing the lid on; this creates a barrier against air, which can cause oxidation and discoloration. Store the jar in the refrigerator, where it will remain fresh for up to two weeks. If you are using a lot of it, you can also freeze the sauce in ice cube trays for up to three months. Simply pop a cube into a pan when you need a quick glaze for stir-fry or a marinade for tomorrow's dinner.Wrapping Up
Making your own teriyaki sauce is a simple way to elevate everyday meals with authentic flavor. By controlling the ingredients, you avoid the excess preservatives, artificial colors, and excessive salt found in many commercial brands. The process is quick, requiring only a small saucepan and basic pantry items, making it a perfect weekend project or a last-minute addition to a weeknight dinner. Once you have mastered this base, feel free to experiment with different sugars, spices, and aromatics to create your own signature version. Whether you use it as a marinade, a glaze, or a dipping sauce, this homemade alternative will consistently deliver a rich, balanced, and delicious experience that store-bought options simply cannot match. Enjoy the process of creating something flavorful from scratch.Frequently Asked Questions
Can I use regular soy sauce instead of low-sodium?
Yes, but you should reduce the amount of soy sauce by about 25% and add more water to maintain the proper consistency. Regular soy sauce is significantly saltier, which can overpower the sweet notes of the mirin and sugar.
What is a good substitute for mirin?
You can use a mixture of sake and sugar, or simply increase the brown sugar and add a teaspoon of rice vinegar. Mirin provides both sweetness and a slight acidity that balances the salt, so replicating those two elements is key.
Why is my sauce not thickening?
Ensure the cornstarch slurry was mixed completely and added to a simmering liquid. If it still does not thicken, make a fresh slurry with a teaspoon more cornstarch and stir it in while the sauce is actively bubbling.
How long does this sauce last in the fridge?
When stored in an airtight container, this sauce will keep for up to two weeks. Always use a clean spoon when serving to prevent bacterial growth, and discard if you notice any off smells or mold.
Can I double this recipe?
Yes, you can easily double all ingredients for a larger batch. Just ensure your saucepan is large enough to accommodate the extra volume without boiling over, and stir frequently to prevent sticking.
◆ ◆ ◆
← Back to ingredientsGet new sauce recipes
One tasty homemade sauce in your inbox each week. No spam, unsubscribe anytime.
Comments (14)