Smooth Hummus Dip: Step-by-Step Instructions
On this page
Pro Tips for Better Results
Always stir your tahini before measuring. It separates naturally, and using only the liquid portion will result in a dry, grainy hummus. Let the blended hummus sit for five minutes before serving; this allows the flavors to meld and the texture to thicken slightly. If you find the hummus too thin, add more chickpeas or let it rest in the fridge. If it is too thick, add reserved cooking liquid or cold water a teaspoon at a time. Do not over-blend for more than three minutes, as excessive friction can heat the mixture and cause the tahini to separate.Instructions
- Roast the garlic cloves in their skins at 200°C (400°F) for 20 minutes until soft and golden; this mellows the sharp bite of raw garlic into a sweet, savory base.
- Drain the soaked chickpeas and place them in a large pot with fresh water, the baking soda, and the salt; the baking soda helps break down the skins for a smoother texture.
- Bring the water to a boil, then reduce to a simmer and cook for about 15 minutes or until the chickpeas are very soft and collapse when pressed; ensure they are fully tender before proceeding.
- Drain the chickpeas and reserve about 1/2 cup of the cooking liquid; discard the rest of the water but keep the starchy liquid for blending.
- Squeeze the roasted garlic cloves from their skins into a food processor; mash them slightly with a fork to create a paste.
- Add the drained chickpeas, tahini, lemon juice, cumin, pepper, and 2 tablespoons of cold water to the food processor.
- Blend on high for 2-3 minutes, scraping down the sides as needed, until the mixture is completely smooth and creamy; the friction from blending warms the mixture and helps emulsify the oils.
- Taste the hummus and adjust seasoning with more salt, lemon, or cumin if desired; add reserved cooking liquid one tablespoon at a time if the mixture is too thick.
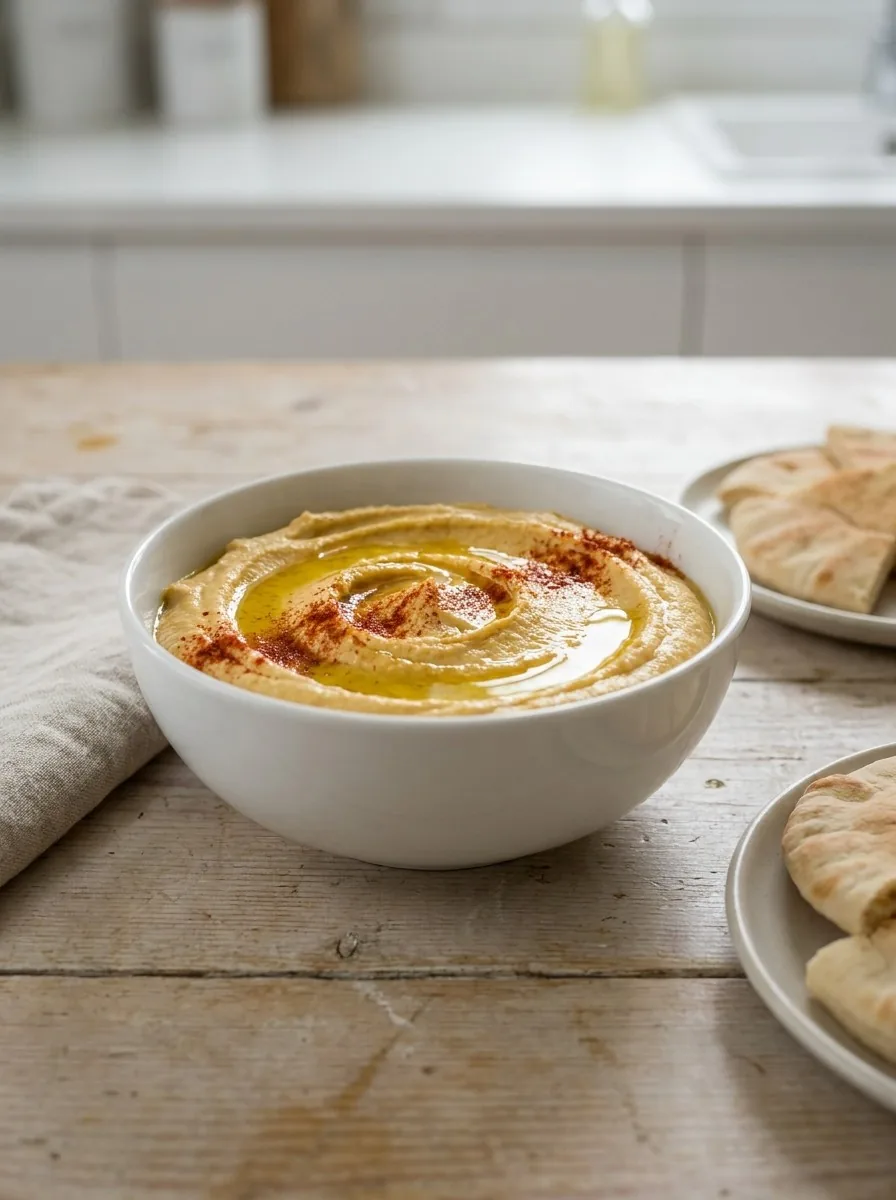
- Transfer the hummus to a serving bowl and create a well in the center; pour the remaining 2 tablespoons of olive oil over the surface.
- Garnish with fresh parsley or paprika if desired, and serve immediately warm or refrigerate until cold.
Recipe Variations
You can easily customize this base recipe to suit your taste. For a roasted red pepper hummus, add one roasted red pepper to the food processor along with the other ingredients. This adds a sweet, smoky flavor and a vibrant color. For a spicier version, mix in a teaspoon of harissa paste or a pinch of cayenne pepper. If you prefer a herbaceous flavor, blend in a handful of fresh parsley or cilantro. For a nutty twist, add a tablespoon of ground walnuts or almonds. Each variation maintains the creamy texture while introducing new layers of flavor.Serving Ideas
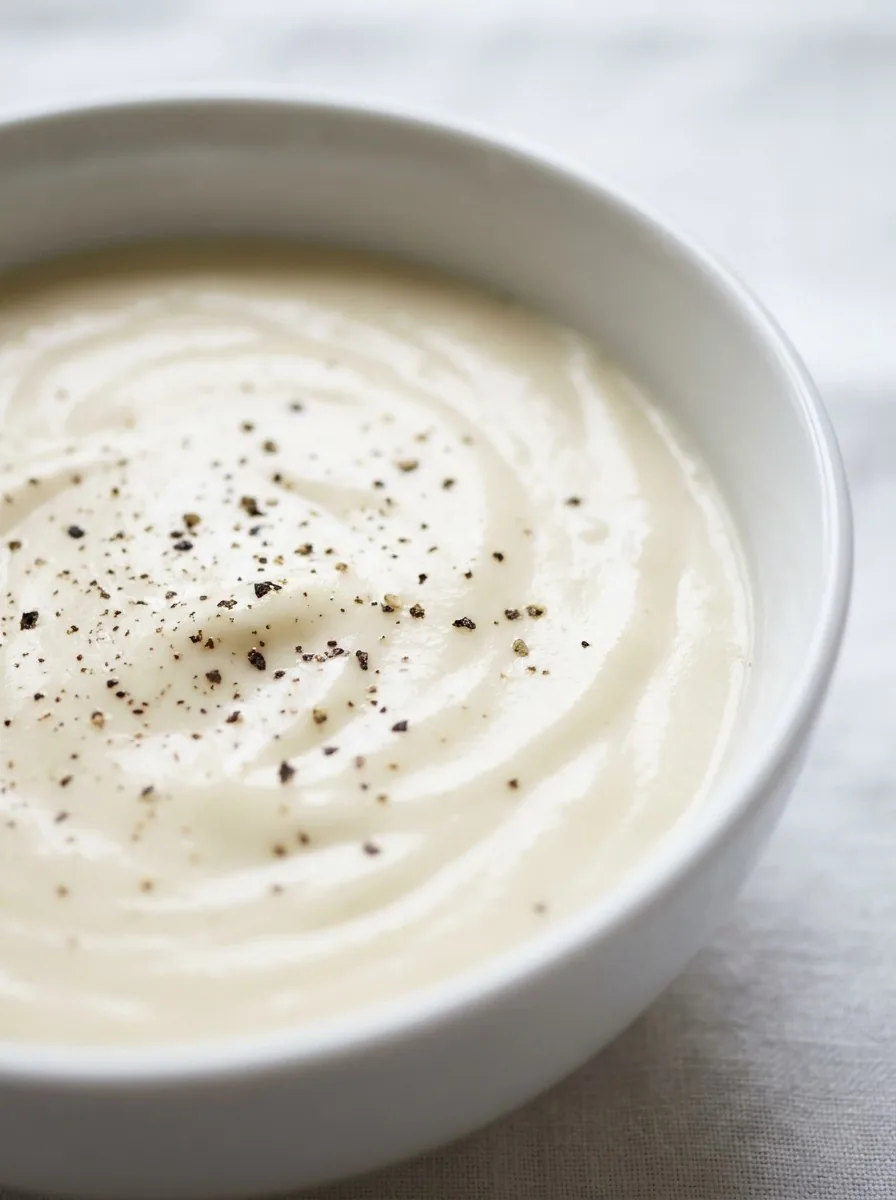
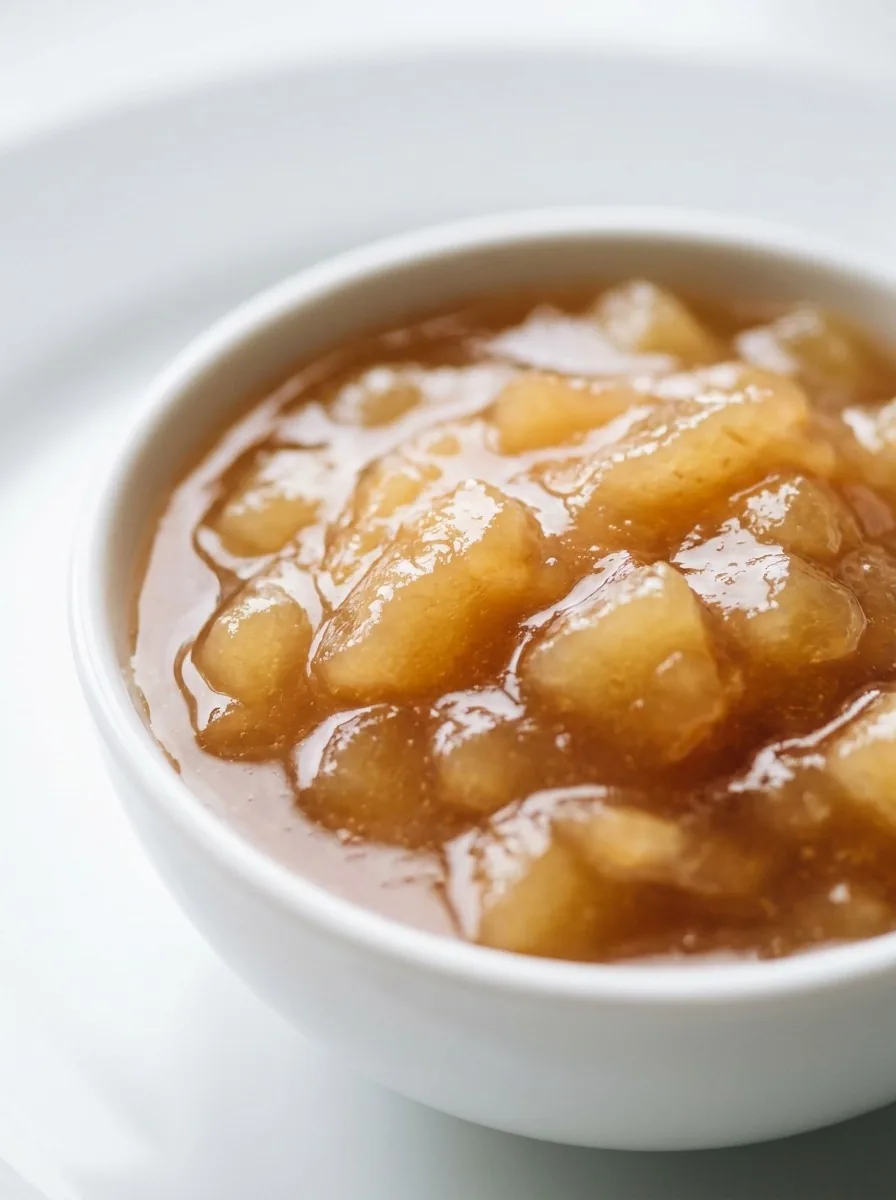
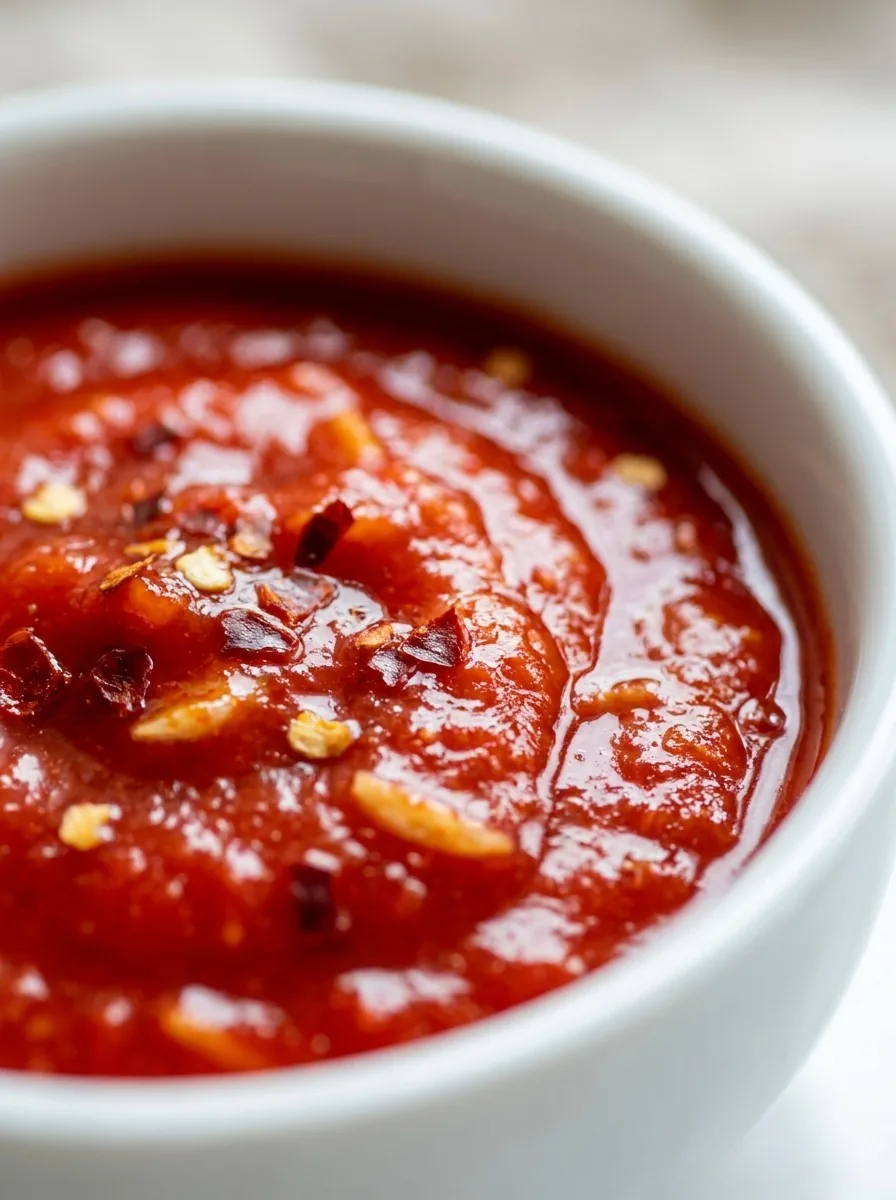
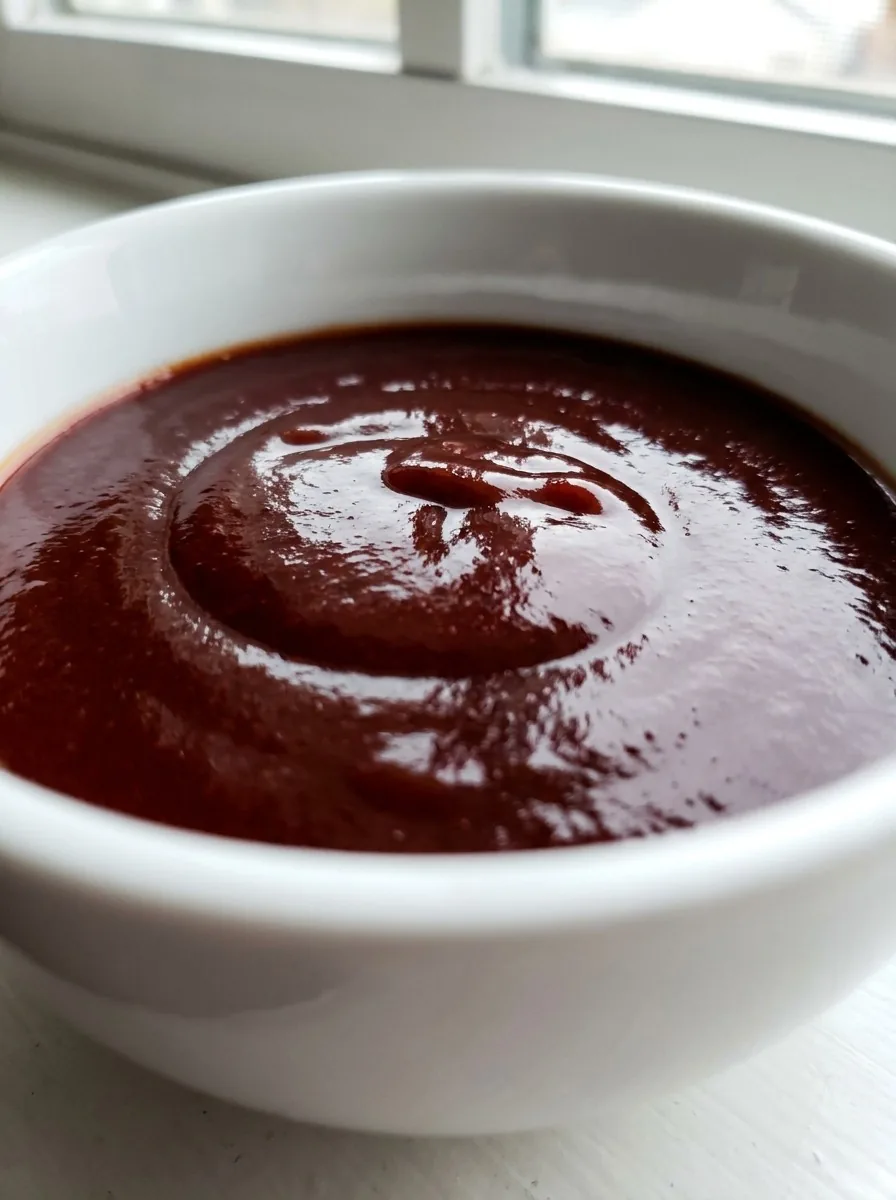
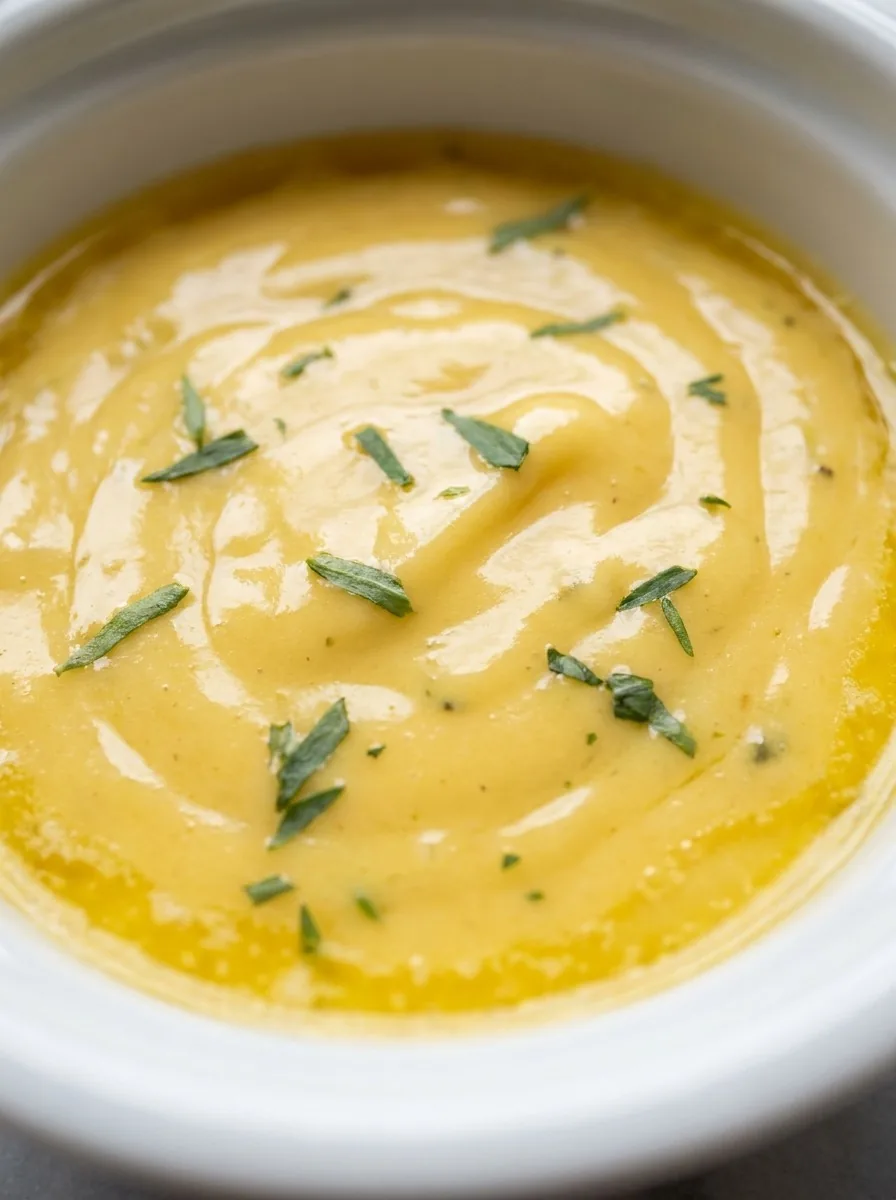
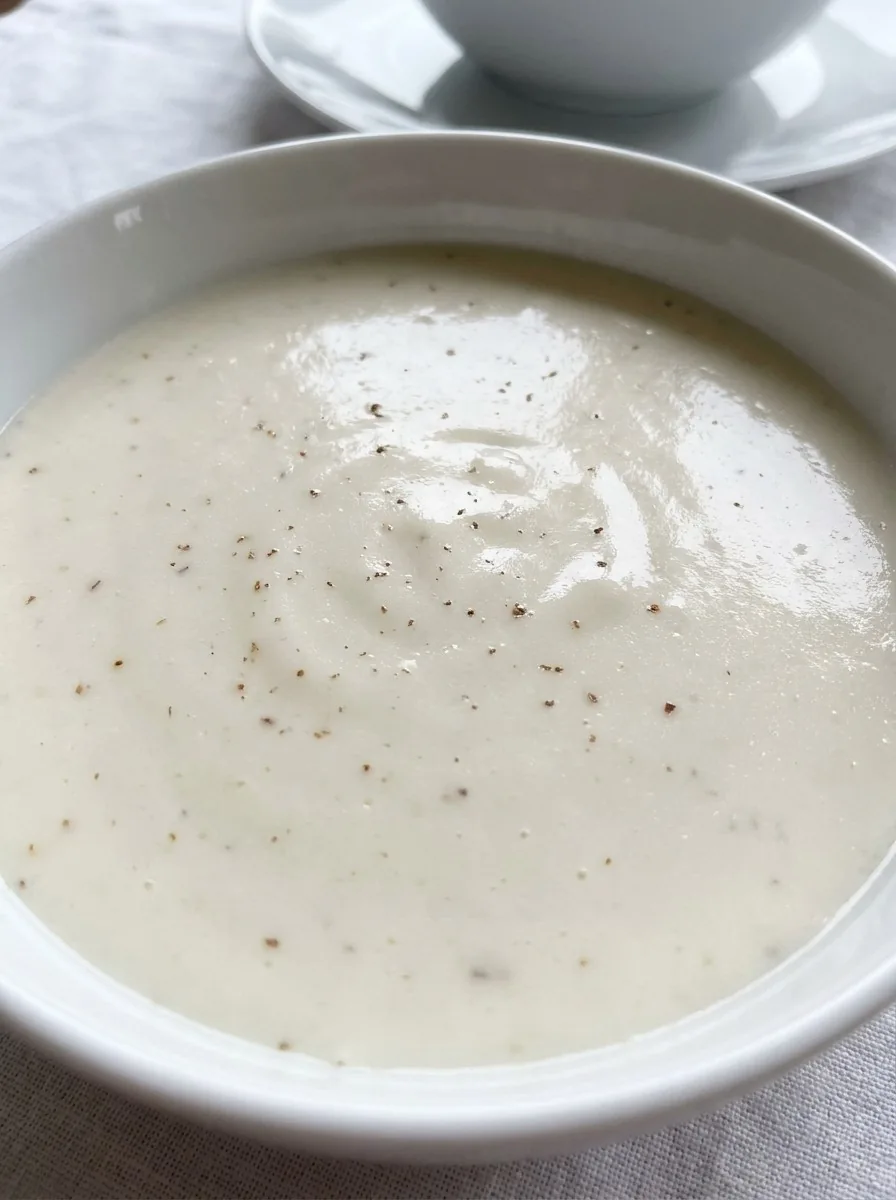
Hummus is versatile enough for any meal. Serve it warm with warm pita bread, fresh cucumber slices, and marinated olives for an appetizer. Use it as a spread for sandwiches or wraps, layering it with grilled chicken, roasted vegetables, or fresh tomatoes. It pairs well with raw vegetables like carrots, celery, and bell peppers for a healthy snack. You can also use it as a base for grain bowls, serving it under a layer of quinoa, roasted chickpeas, and salad greens. For a quick lunch, mix it into pasta with a squeeze of lemon and chopped herbs.If you like making sauces from scratch, try our alfredo sauce, arrabbiata sauce, bbq sauce and bechamel white sauce next.
Keeping It Fresh
To keep your hummus fresh, transfer it to an airtight glass container immediately after making it. Press a piece of plastic wrap directly onto the surface of the hummus to prevent air from reaching it, which causes browning. Then, pour a thin layer of olive oil over the top before sealing the lid. Store it in the refrigerator for up to five days. When you are ready to serve, stir the oil back into the hummus. If you plan to freeze it, do so in small portions for easy thawing. Thaw it in the refrigerator overnight and stir well before serving.Wrapping Up
Making hummus from scratch is a rewarding experience that yields a superior product compared to store-bought versions. The control over ingredients ensures a fresh, vibrant flavor and a texture that is perfectly smooth. With simple pantry staples and minimal effort, you can create a dip that elevates any meal. Whether served warm with pita or cold with vegetables, this recipe is a staple for any home cook. Try it once, and you will likely never go back to the jar.Frequently Asked Questions
Can I use canned chickpeas for this recipe?
Yes, but the texture will be slightly thicker and grainier. If using canned chickpeas, rinse them well and add 1-2 tablespoons more water or cooking liquid while blending to achieve the same smooth consistency.
Why is my hummus still grainy after blending?
This usually means the chickpeas were not cooked long enough. They must be very soft, almost falling apart, before blending. If using dried beans, ensure you soak them for at least 12 hours and cook them until fully tender.
How long does homemade hummus last?
Store it in an airtight container in the refrigerator for up to 5 days. It is best to keep a thin layer of olive oil on top to prevent it from drying out and browning.
Can I make this recipe vegan?
This recipe is already vegan. Ensure your tahini and other ingredients do not contain any hidden dairy or non-vegan additives, but standard tahini and chickpeas are naturally plant-based.
What is the best type of tahini to use?
Use a smooth, sesame seed paste. Liquidy tahini is fine, but if yours is very thick, stir in a little lemon juice or oil to loosen it before adding it to the food processor.
◆ ◆ ◆
← Back to ingredientsGet new sauce recipes
One tasty homemade sauce in your inbox each week. No spam, unsubscribe anytime.
Comments (6)