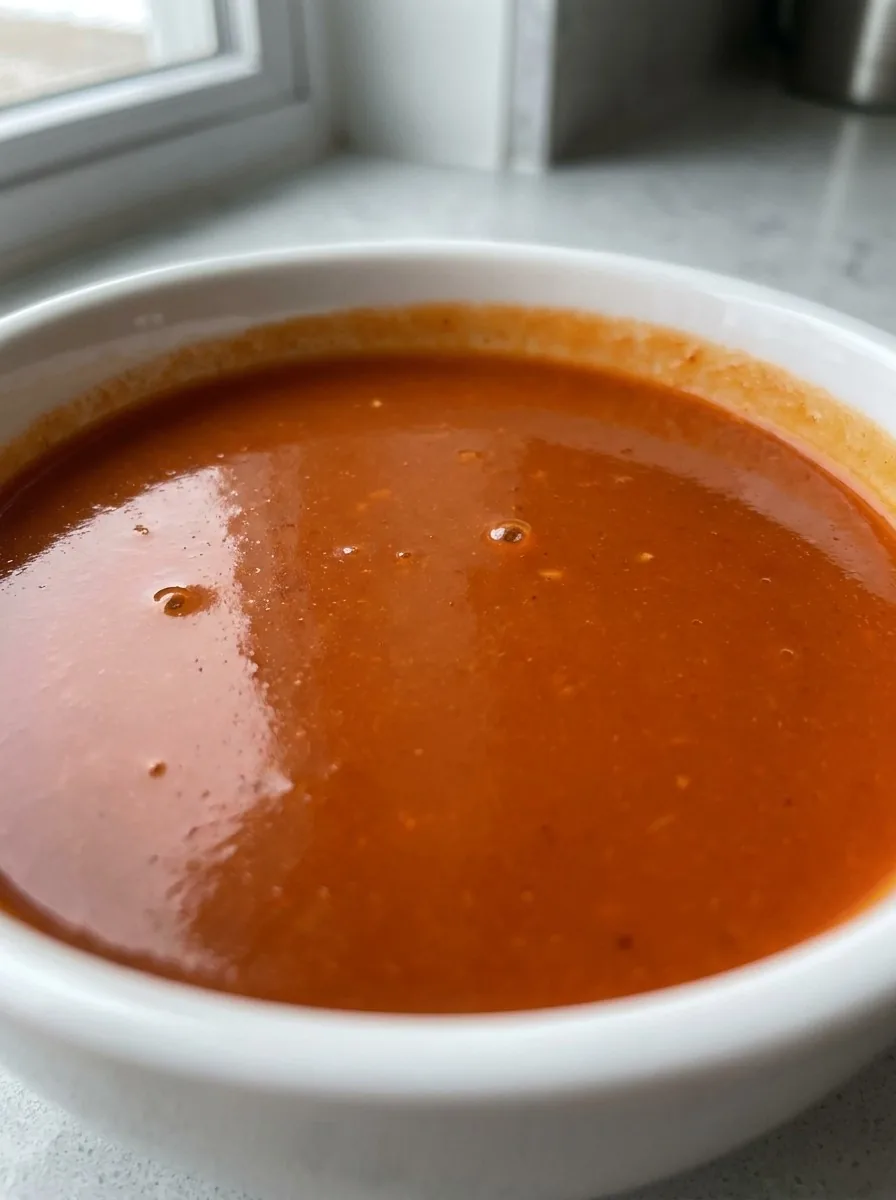
Homemade Hoisin Sauce: Step-by-Step Instructions
On this page
Pro Tips for Better Results
Use a saucepan with a heavy bottom to prevent scorching; a flat‑bottom pan distributes heat evenly. Stir constantly when adding the cornstarch slurry to avoid clumps. If you prefer a sweeter sauce, add a touch more honey and reduce the brown sugar accordingly. For a smoky nuance, toast the sesame oil until it turns light brown before adding it to the mixture. If you want a slightly thicker sauce, let it simmer a bit longer after thickening, or add a second, smaller cornstarch slurry.
Instructions
- Combine soy sauce, rice vinegar, honey, fermented soybean paste, toasted sesame oil, toasted rice vinegar, ginger, garlic powder, cinnamon, cloves, and star anise in a medium saucepan over medium heat, stirring to dissolve the solids; this step ensures a smooth, homogeneous base without clumps.
- Bring the mixture to a gentle simmer, allowing the flavors to meld for 4–5 minutes; this simmer releases the spices’ aromatics into the sauce, creating depth and complexity that mimic commercial hoisin.
- Stir in brown sugar, ensuring it fully integrates; the sugar balances the acidity and gives the sauce its characteristic sweetness while also contributing to a slight caramelization during simmering.
- Whisk the cornstarch with water to create a slurry, then slowly pour it into the simmering sauce, stirring constantly to thicken; the cornstarch gives hoisin its silky viscosity and glossy sheen.
- Continue cooking for an additional 2 minutes, or until the sauce reaches a glossy, thick consistency; this final simmer lets the thickened sauce set and prevents it from becoming too runny when cooled.
- Remove the saucepan from heat and let the sauce cool to room temperature; cooling helps the flavors integrate further and reduces the risk of scorching the sugars during storage.
- Transfer the sauce to a clean jar or airtight container; if you want a smoother texture, strain through a fine mesh sieve before bottling, which removes any remaining spice particles.
- Store the sauce in the refrigerator; it will keep for up to 4 weeks, and it can be reheated gently on low heat or warmed in a microwave if you prefer it warm for glazing or dipping.
- Serve the sauce as a dipping sauce for spring rolls, a glaze for grilled meats, or a stir‑fry sauce; its balanced sweet‑savory profile complements many dishes.
Recipe Variations
If you’re craving a spicier kick, blend in a teaspoon of chili paste or a splash of sriracha during the simmer. For a richer, buttery note, replace toasted sesame oil with a small amount of toasted peanut oil. To make a vegan version, substitute honey with maple syrup and use a plant‑based soy sauce. For a lower‑sodium option, reduce the soy sauce by one‑third and compensate with extra vinegar or citrus juice. Finally, experiment with adding a splash of toasted rice wine or a dash of fish sauce for an extra layer of umami.
Serving Ideas
Use the sauce as a dipping companion for fresh spring rolls, dumplings, or crispy wontons. Brush it onto grilled or pan‑seared pork, chicken, or beef for a glossy glaze that caramelizes beautifully. Stir it into vegetable or tofu stir‑fries for a burst of flavor that coats every bite. Drizzle it over roasted root vegetables or roasted cauliflower for a sweet‑savory glaze. Mix a tablespoon into a vinaigrette for a tangy, umami‑rich dressing that pairs well with mixed greens or grain bowls.
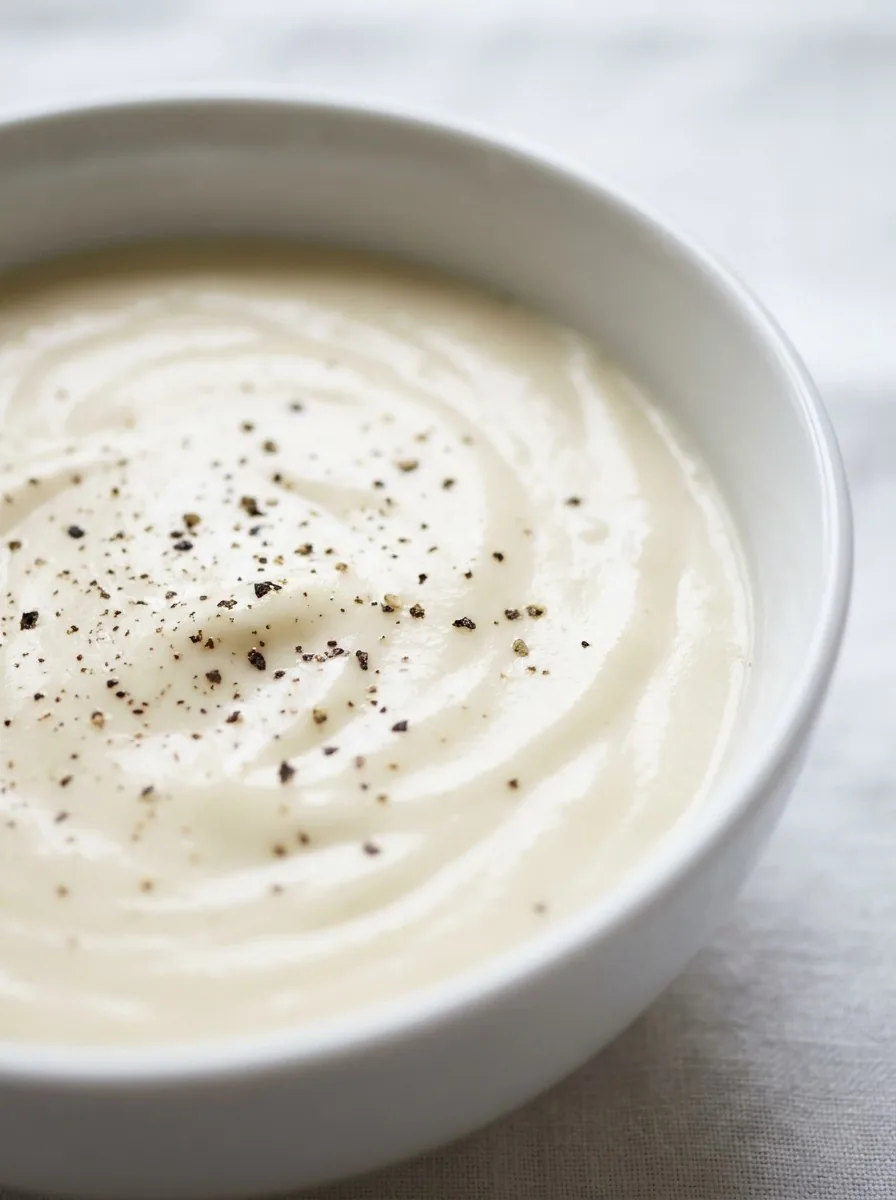
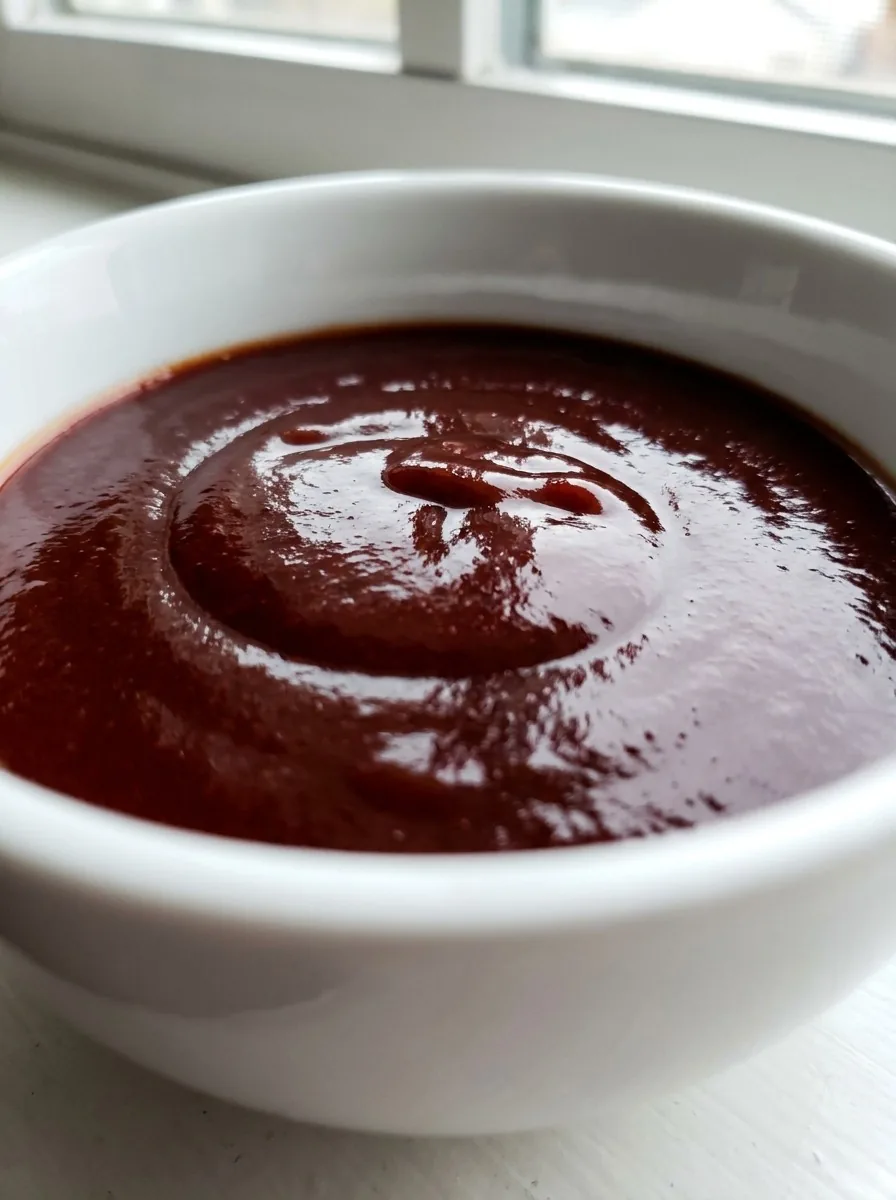
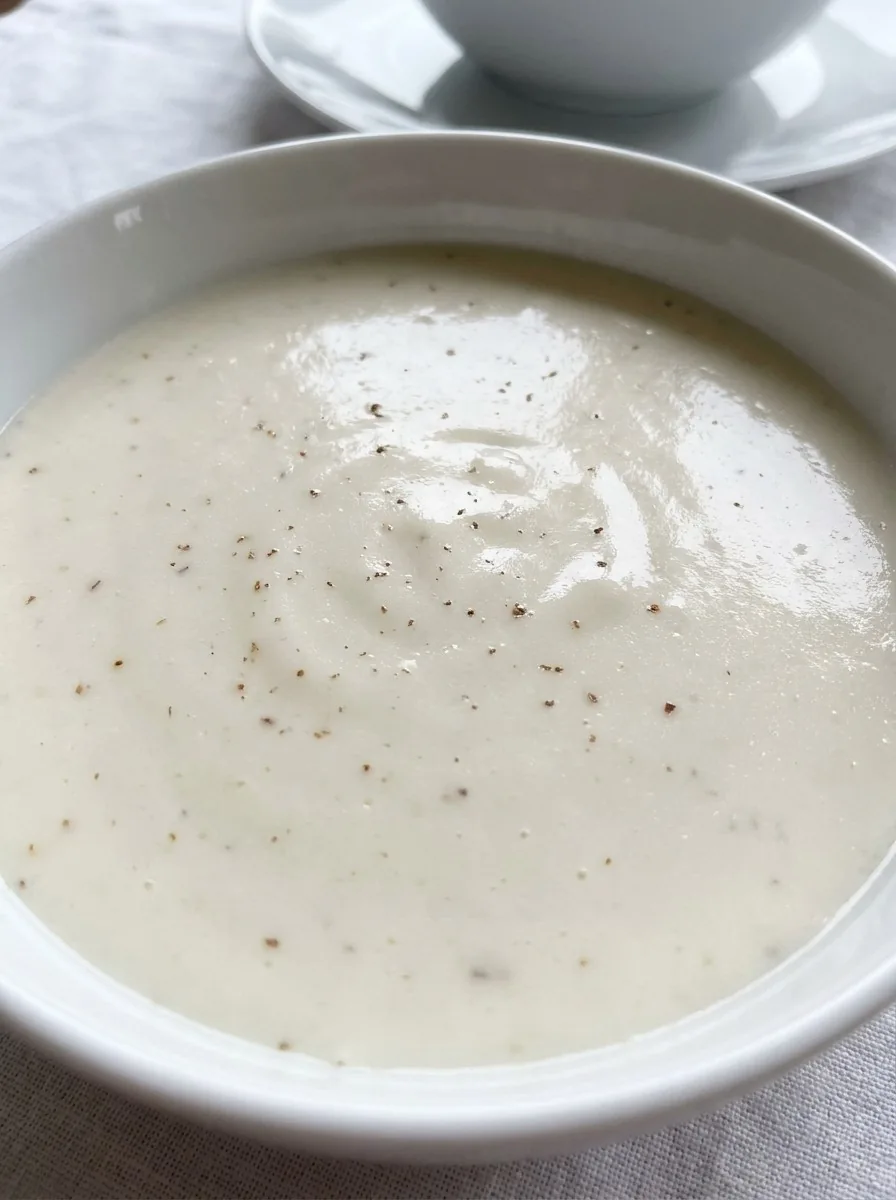
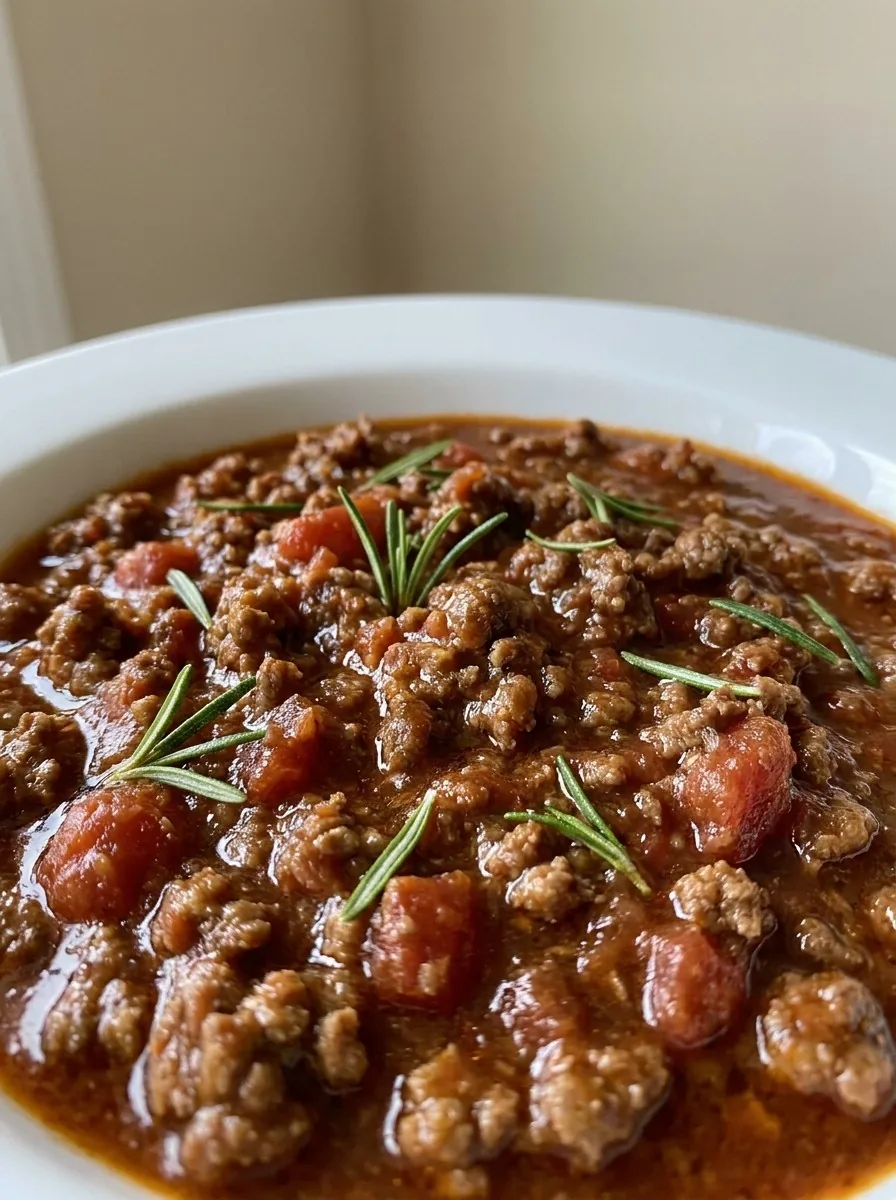
If you like making sauces from scratch, try our alfredo sauce, arrabbiata sauce, bbq sauce and bechamel white sauce next.
Keeping It Fresh
Store the sauce in a clean jar or airtight container in the refrigerator; it will stay fresh for up to four weeks. If you notice a slight separation when the sauce cools, simply stir or shake before using. For longer storage, you can freeze the sauce in ice‑cube trays and transfer the frozen cubes to a freezer bag; thaw as needed for dipping or cooking. Avoid using metal utensils when serving to prevent metallic taste; a wooden spoon works best. Always use a clean, dry spoon when scooping to maintain the sauce’s quality.
Wrapping Up
With this homemade hoisin sauce, you can bring authentic Chinese flavor to your table without the wait or the cost of a specialty store product. The recipe’s simplicity—relying on pantry staples—makes it ideal for quick weeknight meals or for prepping ahead for entertaining. Its balanced sweet‑savory profile makes it a versatile companion for a wide array of dishes, from grilled meats to stir‑fries and dipping sauces. Feel free to tweak the spice blend or sweetness to suit your palate, and enjoy the rich, glossy sauce that elevates any recipe. Happy cooking, and may your kitchen always be filled with the inviting aroma of simmering hoisin.
Frequently Asked Questions
Can I use honey instead of sugar?
Yes, honey adds a floral note; just adjust sweetness to taste and keep an eye on the sugar content if you’re watching calories.
Is it safe to use regular soy sauce?
Regular soy sauce is fine, but low‑sodium reduces saltiness, making the sauce more balanced and easier to control the salt level.
How do I thicken the sauce more?
Increase the cornstarch slurry or simmer longer, but be careful not to over‑thicken; a slightly thinner sauce is easier to stir‑fry.
Can I add a bit of chili?
Yes, a pinch of cayenne or chili flakes adds heat without overpowering; adjust according to your heat tolerance.
Why does the sauce darken when stored?
The sugars undergo a Maillard reaction over time, deepening color; it’s normal and does not affect flavor or safety.
◆ ◆ ◆
← Back to ingredientsGet new sauce recipes
One tasty homemade sauce in your inbox each week. No spam, unsubscribe anytime.