Homemade Brown Gravy: Step-by-Step Instructions
On this page
Pro Tips for Better Results
Use a color thermometer if you like precision: a target of 120‑130°F (49‑54°C) indicates the roux is done without browning. If the gravy thickens too quickly, add a splash of cold water to loosen it. Conversely, if it’s too thin, let it simmer a few more minutes; a longer, low‑heat simmer breaks down the starch further, giving a silkier mouthfeel. Stir constantly to avoid scorching, especially as the sauce thickens. Finally, taste with a small spoon of broth before adding the finished sauce to your dish; this ensures the gravy’s flavor complements rather than competes with the main component.
Instructions
- In a medium saucepan over medium heat, melt the butter until it foams but does not brown. This creates a smooth base that prevents clumping when flour is added.
- Sprinkle the flour over the butter and whisk vigorously for about 1 minute. The flour will form a roux, absorbing fat and coating with a subtle nutty flavor that deepens the gravy’s color.
- Slowly pour in the chicken broth while whisking constantly, ensuring no lumps remain. The gradual addition keeps the mixture silky and distributes heat evenly, avoiding a gritty texture.
- Add the water, Worcestershire sauce, soy sauce, and paprika, stirring to combine. These ingredients build depth and umami, turning the simple roux into a complex brown gravy.
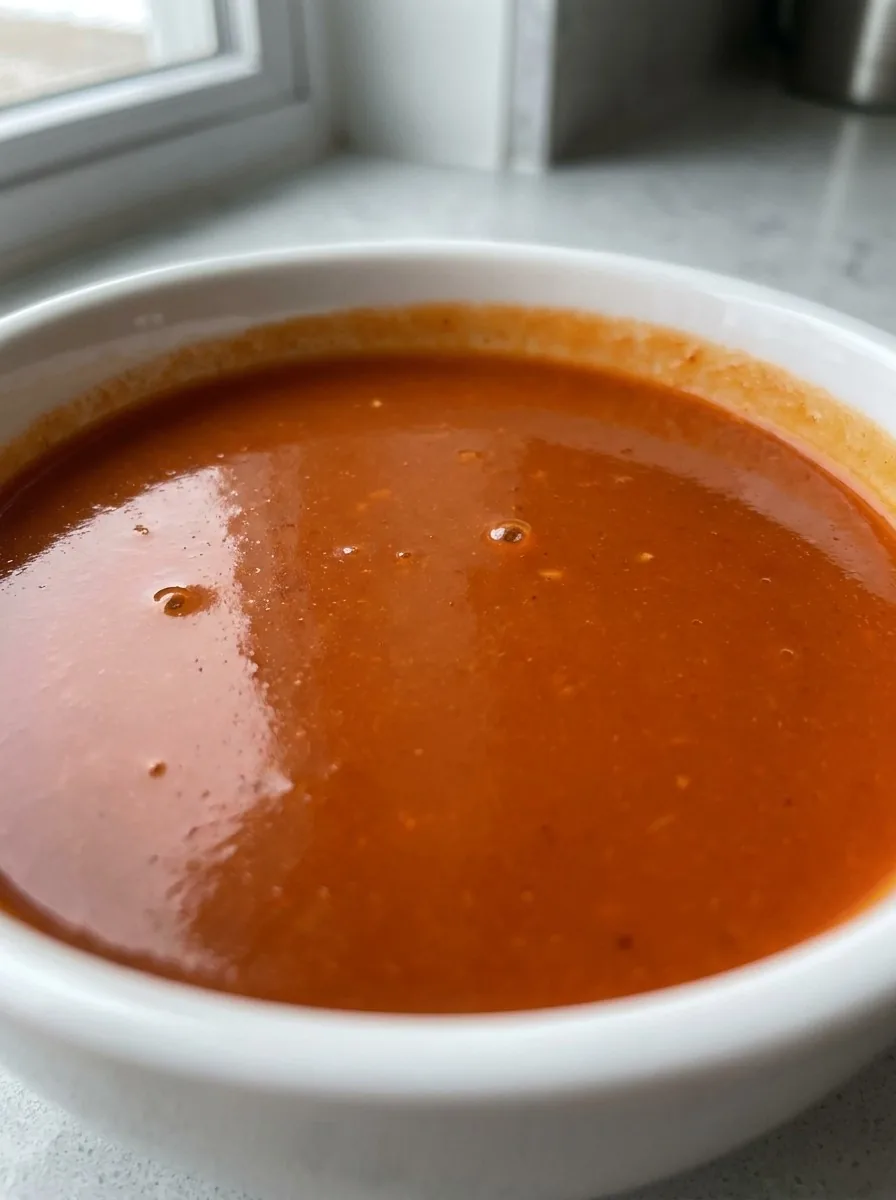
- Bring the mixture to a gentle simmer, then reduce the heat to low and let it thicken for 5 minutes, stirring occasionally. The slow simmer allows the flavors to meld and the sauce to reach ideal viscosity.
- Stir in the mustard, salt, pepper, and lemon juice. The acid from lemon brightens the flavors and balances the richness, while mustard adds a subtle tang.
- Remove the saucepan from the heat and whisk in the fresh parsley. The parsley adds a gentle herbal note and brightens the gravy’s appearance.
- Taste the gravy and adjust seasoning, adding more salt, pepper, or lemon if desired. Adjusting at this stage ensures the final flavor profile is balanced before serving.
- Let the gravy rest for 2 minutes, then ladle into bowls or pour over your favorite roast, mashed potatoes, or biscuits. The brief rest allows residual heat to finish thickening and flavors to settle.
Recipe Variations
For a dairy‑free option, substitute the butter with a neutral‑flavored oil such as grapeseed or canola, then use a non‑dairy milk to replace a portion of the broth. If you prefer a sweeter gravy, add a teaspoon of brown sugar or maple syrup before simmering; this pairs wonderfully with pork or ham. For a smoky twist, bruise a smoked paprika or a dash of chipotle powder, which will give the sauce a subtle heat. Finally, experiment with different broths—beef, pork, or vegetable—each providing a distinct base flavor that can adapt the gravy to your meal’s profile.
Serving Ideas
Warm the gravy over a slow roast to soak into the juices, then ladle over mashed potatoes or roasted root vegetables for a comforting winter dish. Chill a portion in the refrigerator and serve it over a crisp salad with crumbled bacon for a refreshing summer side; the contrast of warm and cold adds texture. Drop a few spoonfuls onto a toasted roll to create a quick sandwich filling, or drizzle it over a grilled cheese for a savory upgrade. For an elegant dinner, spoon the gravy over a seared steak, allowing the sauce to mingle with the meat’s juices for a rich, savory finish.
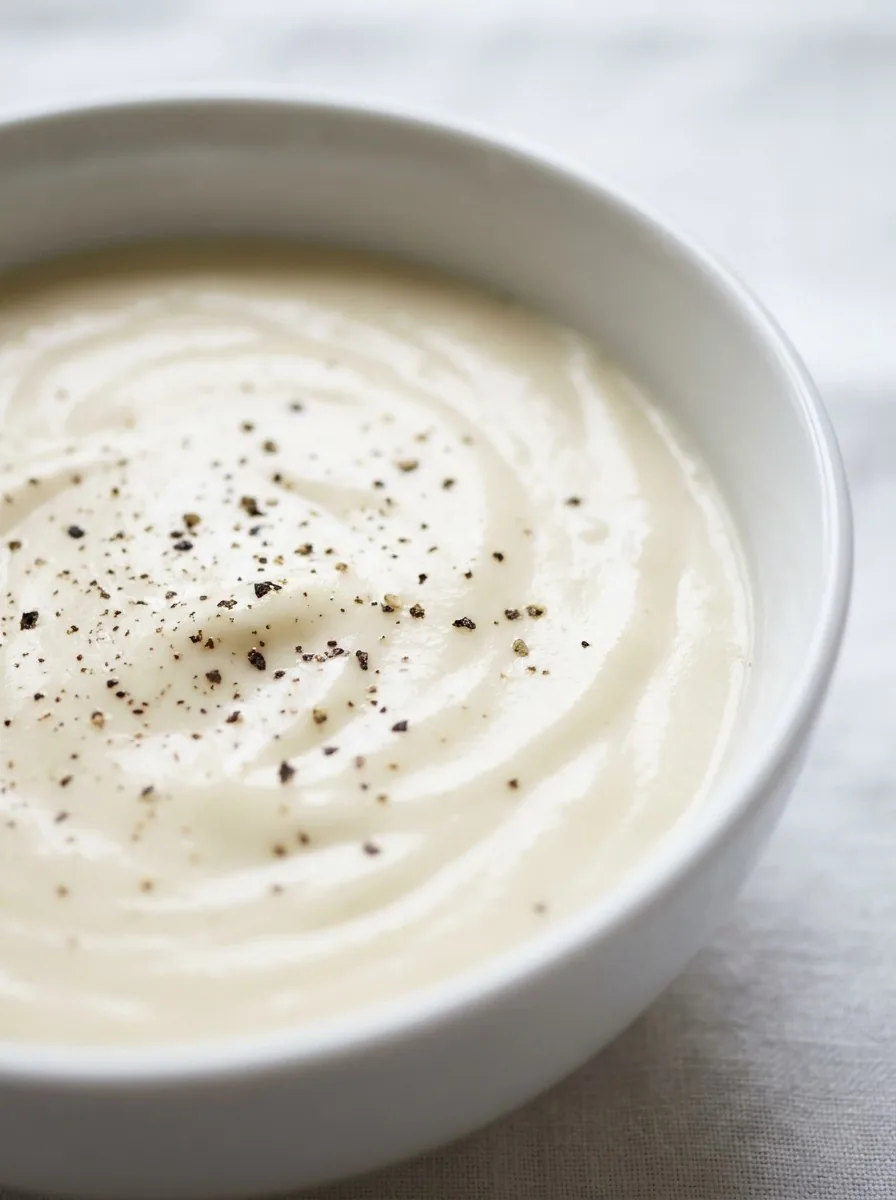
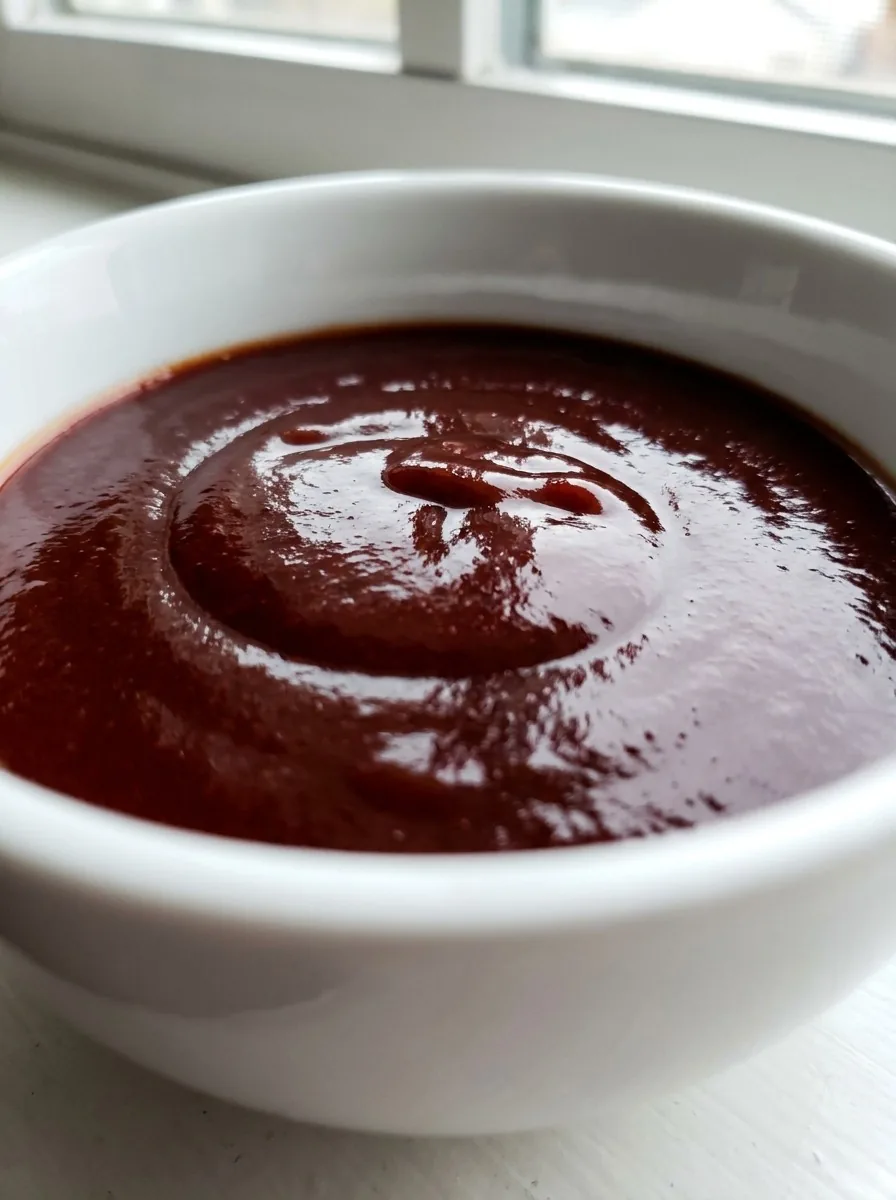
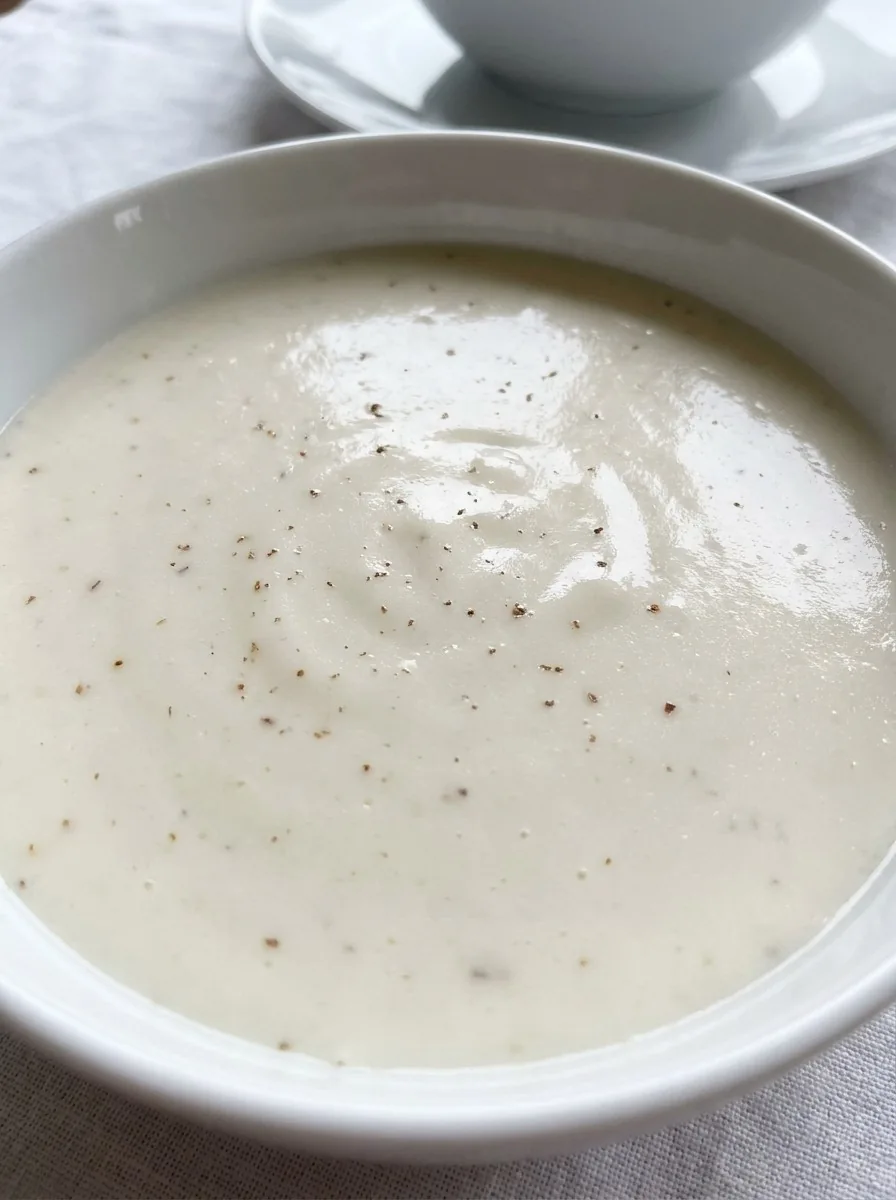
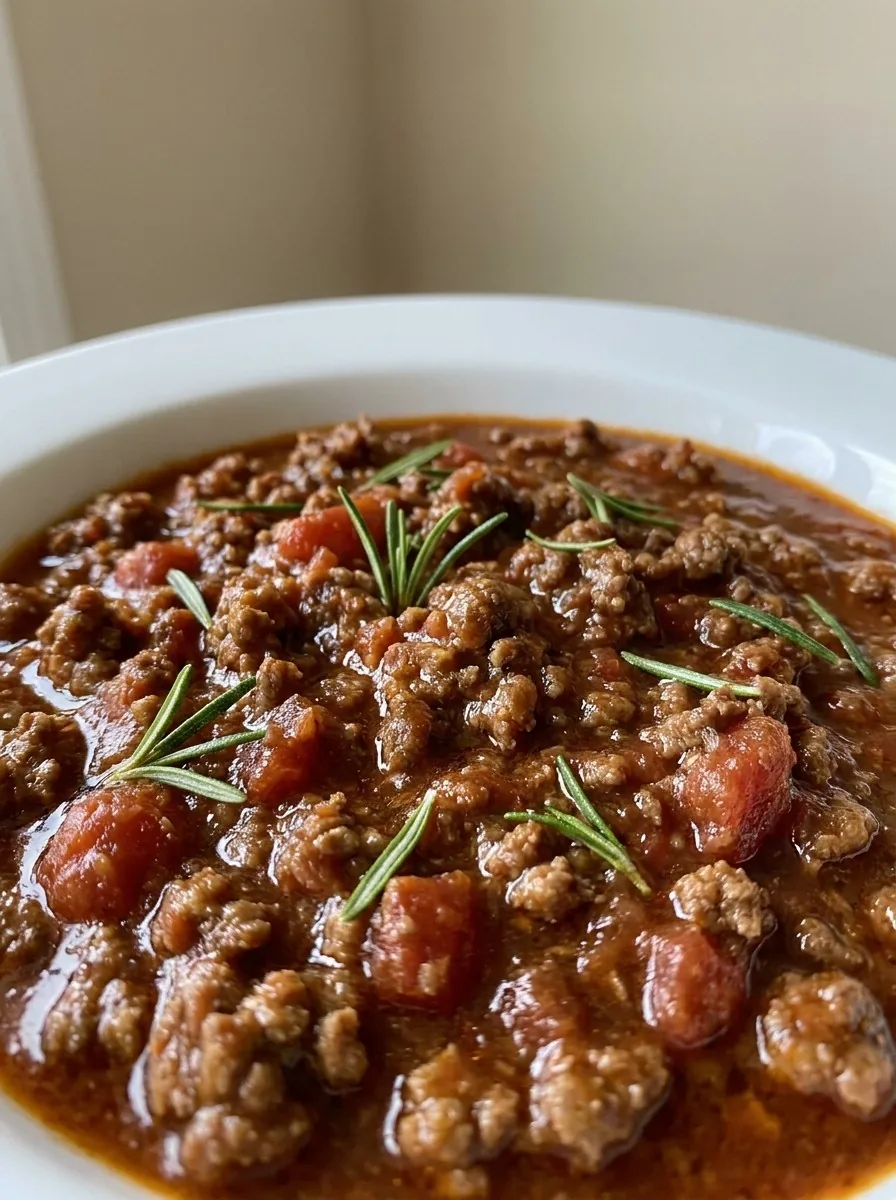
If you like making sauces from scratch, try our alfredo sauce, arrabbiata sauce, bbq sauce and bechamel white sauce next.
Keeping It Fresh
Store the gravy in an airtight container and refrigerate; it stays good for up to 3 days. When reheating, use a gentle, low heat and stir frequently; if it thickens too much, add a splash of broth or water to restore the desired consistency. For long‑term storage, freeze the gravy in portioned containers for up to 2 months; thaw overnight in the refrigerator and reheat slowly on the stove or in the microwave, stirring after each minute to ensure even heat distribution.
Wrapping Up
Mastering brown gravy is less about fancy techniques and more about respecting the fundamentals: a good roux, balanced liquids, and thoughtful seasoning. Follow the steps and tips here, and you’ll produce a sauce that elevates any dish, from holiday roasts to everyday comfort meals. Keep the process simple, measure accurately, and taste as you go. With practice, you’ll be able to tweak the sauce to suit any palate, whether you lean toward savory, smoky, or even subtly sweet. Enjoy the warmth of a homemade gravy that feels like a hug on your plate.
Frequently Asked Questions
Can I use beef broth instead of chicken broth?
Yes, beef broth will give a richer, meatier tone, but adjust salt accordingly.
Can I thicken the gravy using cornstarch?
While cornstarch works, it can give a slightly gelatinous texture; our roux method provides a more traditional mouthfeel.
How do I keep the gravy from separating after refrigeration?
Refrigerate the gravy in a tight‑sealed container, then reheat gently on low heat while whisking, adding a splash of water if it becomes too thick.
Is this gravy suitable for vegetarians?
If you replace the chicken broth with vegetable broth, the gravy becomes vegetarian, though the flavor profile will shift slightly.
Can I make this gravy ahead of time?
Yes, it keeps well for up to 3 days in the fridge and can be frozen for up to 2 months; thaw and reheat slowly over low heat.
◆ ◆ ◆
← Back to ingredientsGet new sauce recipes
One tasty homemade sauce in your inbox each week. No spam, unsubscribe anytime.
Comments (6)